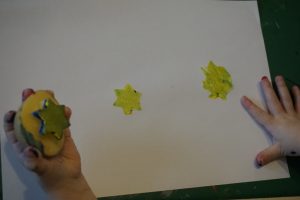
Potato printing can be a bit tricky, since the painted potato can be quite slick. I would recommend using this painting method with children +4. My two-year-old daughter really enjoyed it, but made a bit of a mess, rather than a clear picture. But all that matters is that she had fun!
 Step 1:
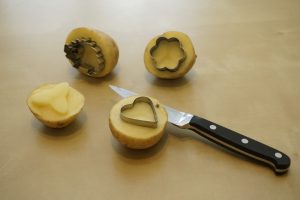
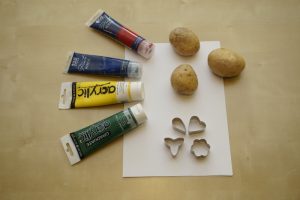
Cut the potatoes in half. Then choose the cookie cutter shapes you would like to print on your paper and press one into each potato half. Using the knife, cut into the potato around the cookie cutter (about 5mm into the potato) and then lift the extra potato you just cut off. (This sounds very complicated, so if you are confused, take a look at the photo I made) You now have created your own potato stamps.
 Step 2:
Either dip the potato stamps into the paint directly or using the paintbrush paint it on. I would recommend using the paintbrush, since else there’s too much paint on the potato to make a nice print.
You can make a pretty pattern or a whole picture, depending on what you want to do with your completed artwork.
 Step 3:
Since I needed some birthday cards, I used the potato printing pattern as a base for my card. I cut out the part of the pattern that I liked best and stuck it on some colored paper. To give the card a 3D effect you can cut out some of the remaining potato prints and stick them over the others using double sided foam adhesive sticky pads.
Let your creativity go wild, and enjoy the challenge of everything is possible when you use potatoes ;)

