You are using an insecure version of your web browser. Please update your browser!
Using an outdated browser makes your computer unsafe. For a safer, faster, more enjoyable user experience, please update your browser today or try a newer browser.

Gifts

Mother’s Day Gift: Unique Picture Frame

A picture frame is always a great gift for mom or grandma! But even better than an ordinary picture frame, is a self-made, unique, one of a kind picture frame. The great thing about this craft is, it is very quick, not in the least messy and an interesting activity for children as young as two years. My two-year-old daughter really enjoyed doing this craft. She loves gluing and sticking anything together :)

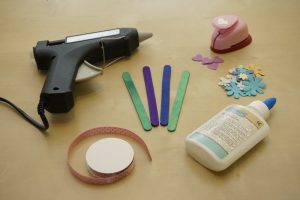
Needed items:

  • 4 Popsicle sticks
  • glue gun (optional)
  • glue
  • ribbon
  • any collage materials (flowers, hearts, shapes…)
  • punchers in various shapes (optional)

Step 1:
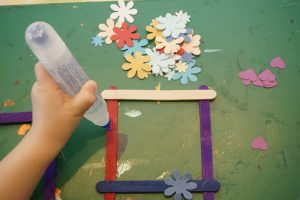
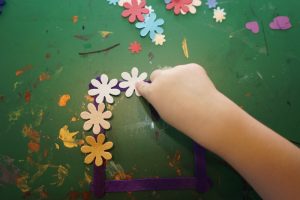
The first thing you need to do, is stick the Popsicle sticks together to create a picture frame. I used the glue gun, since I wanted to continue crafting immediately. If you use liquid glue, then you may have to wait a few hours before continuing, so the glue can dry. This part I would recommend the parent doing on their own, of course depending on how old your child is, dealing with a glue gun can be quite dangerous.
Step 2:
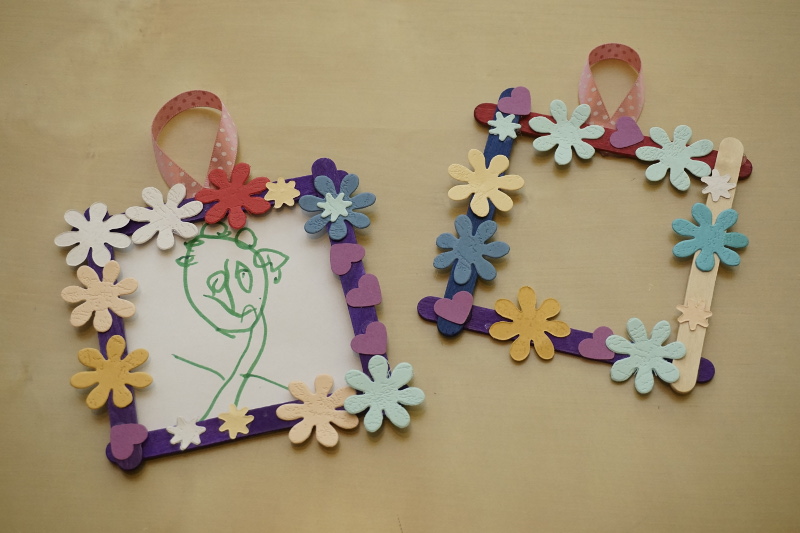
Here the real fun begins. Get out all the collage materials you want to use and now it’s all about placing them. Take the flowers, hearts, shapes and whatever else you want to use to decorate the frame and put them all around it. It is entirely up to you if you want to create a pattern or just place them at random like my daughter did. In any case I am sure it will look brilliant!

If you don’t have any collage materials at home, then you can easily create your own ones. All you need is either scissors or punchers with different shapes on them. These you can usually buy in any craft supply store.

Step 3:
The final step is gluing the ribbon on the back of your finished picture frame, so you have a hook to hang the frame on. Again, I used the glue gun, but you can use any form of liquid glue.

Now all that you need to do is either stick a photo in the frame or make a nice drawing to go into it. Your personal gift is now complete.

Categories: Gifts | Tags: , , , | Leave a comment

A walk down memory lane part 2

Create a memory box

A new year has started, so on this note Happy New Year to you all!

Is there a better way to start the year, than with a fun project to accompany you for many months to come?
Have you collected items over the years that have sentimental value to you and you don’t know where to put them? Here is an easy to do craft project, of what to do with these things – create a memory box. You will benefit from this for a lifetime and some memories that you didn’t want to forget, will be treasured in here.

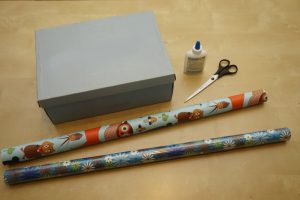
needed items:

  • shoe box
  • wrapping paper
  • glue and scissors
  • or

  • shoe box
  • acrylic paint and paintbrush


Step 1:
First you need to find the right size box. Since the box is bound to look quite boring, you definitely want to pimp it up a bit.
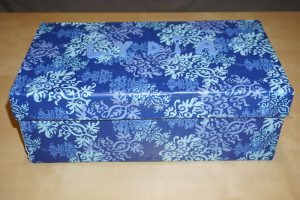
Either using the wrapping paper of your choice, cut and glue it all over the shoe box (including the lid) or you use the acrylic paint to paint the box.

Step 2:
When it is dry you can write the name of the person it is for on the lid of the box. If the box is for yourself you could write a nice poem or saying on it. You could also add the date of when you started this memory box.

Step 3:
Then the fun begins… you collect items that are special to you, things that you want to remember or you once want to tell your child about.

I made my daughter a memory box, that I will give to her when she is an adult. I made myself a memory box when I was a child and I still add items… concert tickets, books, special gifts I have gotten and anything else I don’t want to forget.

I love looking through the box and going back down memory lane.

Categories: Crafts, Gifts | Tags: , , , , | Leave a comment

Baby-shower gift “12 month photo canvas”

If you are looking for a personal homemade baby-shower gift for a dear friend, then this might just be the right thing: Baby’s first year monthly photo series.
This does not need much time, but is a wonderful memory for your friend.

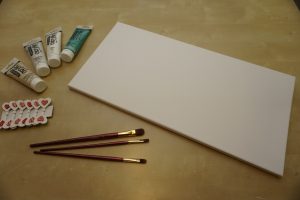
12_month_photo_canvas_items
Needed items:

  • canvas
  • acrylic paint & brushes
  • 12 nice clothes pegs
  • glue and markers


Step 1:
Paint the canvas. There is no limit to your creativity. Paint colors, patterns and decorate it to suit your friends taste, whom the gift is for. I found it nice, if there is space left in the middle of the canvas to write a sweet poem or saying.

Step 2:
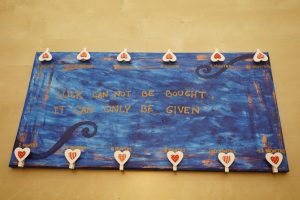
Once the paint has dried, glue the 6 clothes pegs on the top and 6 on the bottom of the canvas leaving the same gap between each one. Write “1 month”, “2 months”, “3 months” all the way to 12 months next to each clothe peg. If you like you can write a poem in the middle of the canvas.

Your homemade baby’s 12 month photo canvas is finished! Don’t forget to explain to your friend, that every month they need to take a photo of the baby and hang it up on the correct clothe peg.

12_month_photo_canvas

The completed baby’s first 12 month photo canvas

Categories: Gifts | Tags: , , , | Leave a comment